Setup Wizard
You will find an entry called Setup Wizard in two places in the console: under Firm, and again under Integrations. They are not the same screen. The one under Firm is a checklist that tracks your install's progress through onboarding. The one under Integrations is a guided wizard where you actually connect your accounts and enter credentials, tier by tier.
Together they are where you bring a new Alpheous install online, and where you come back later if you add a connection you skipped the first time.
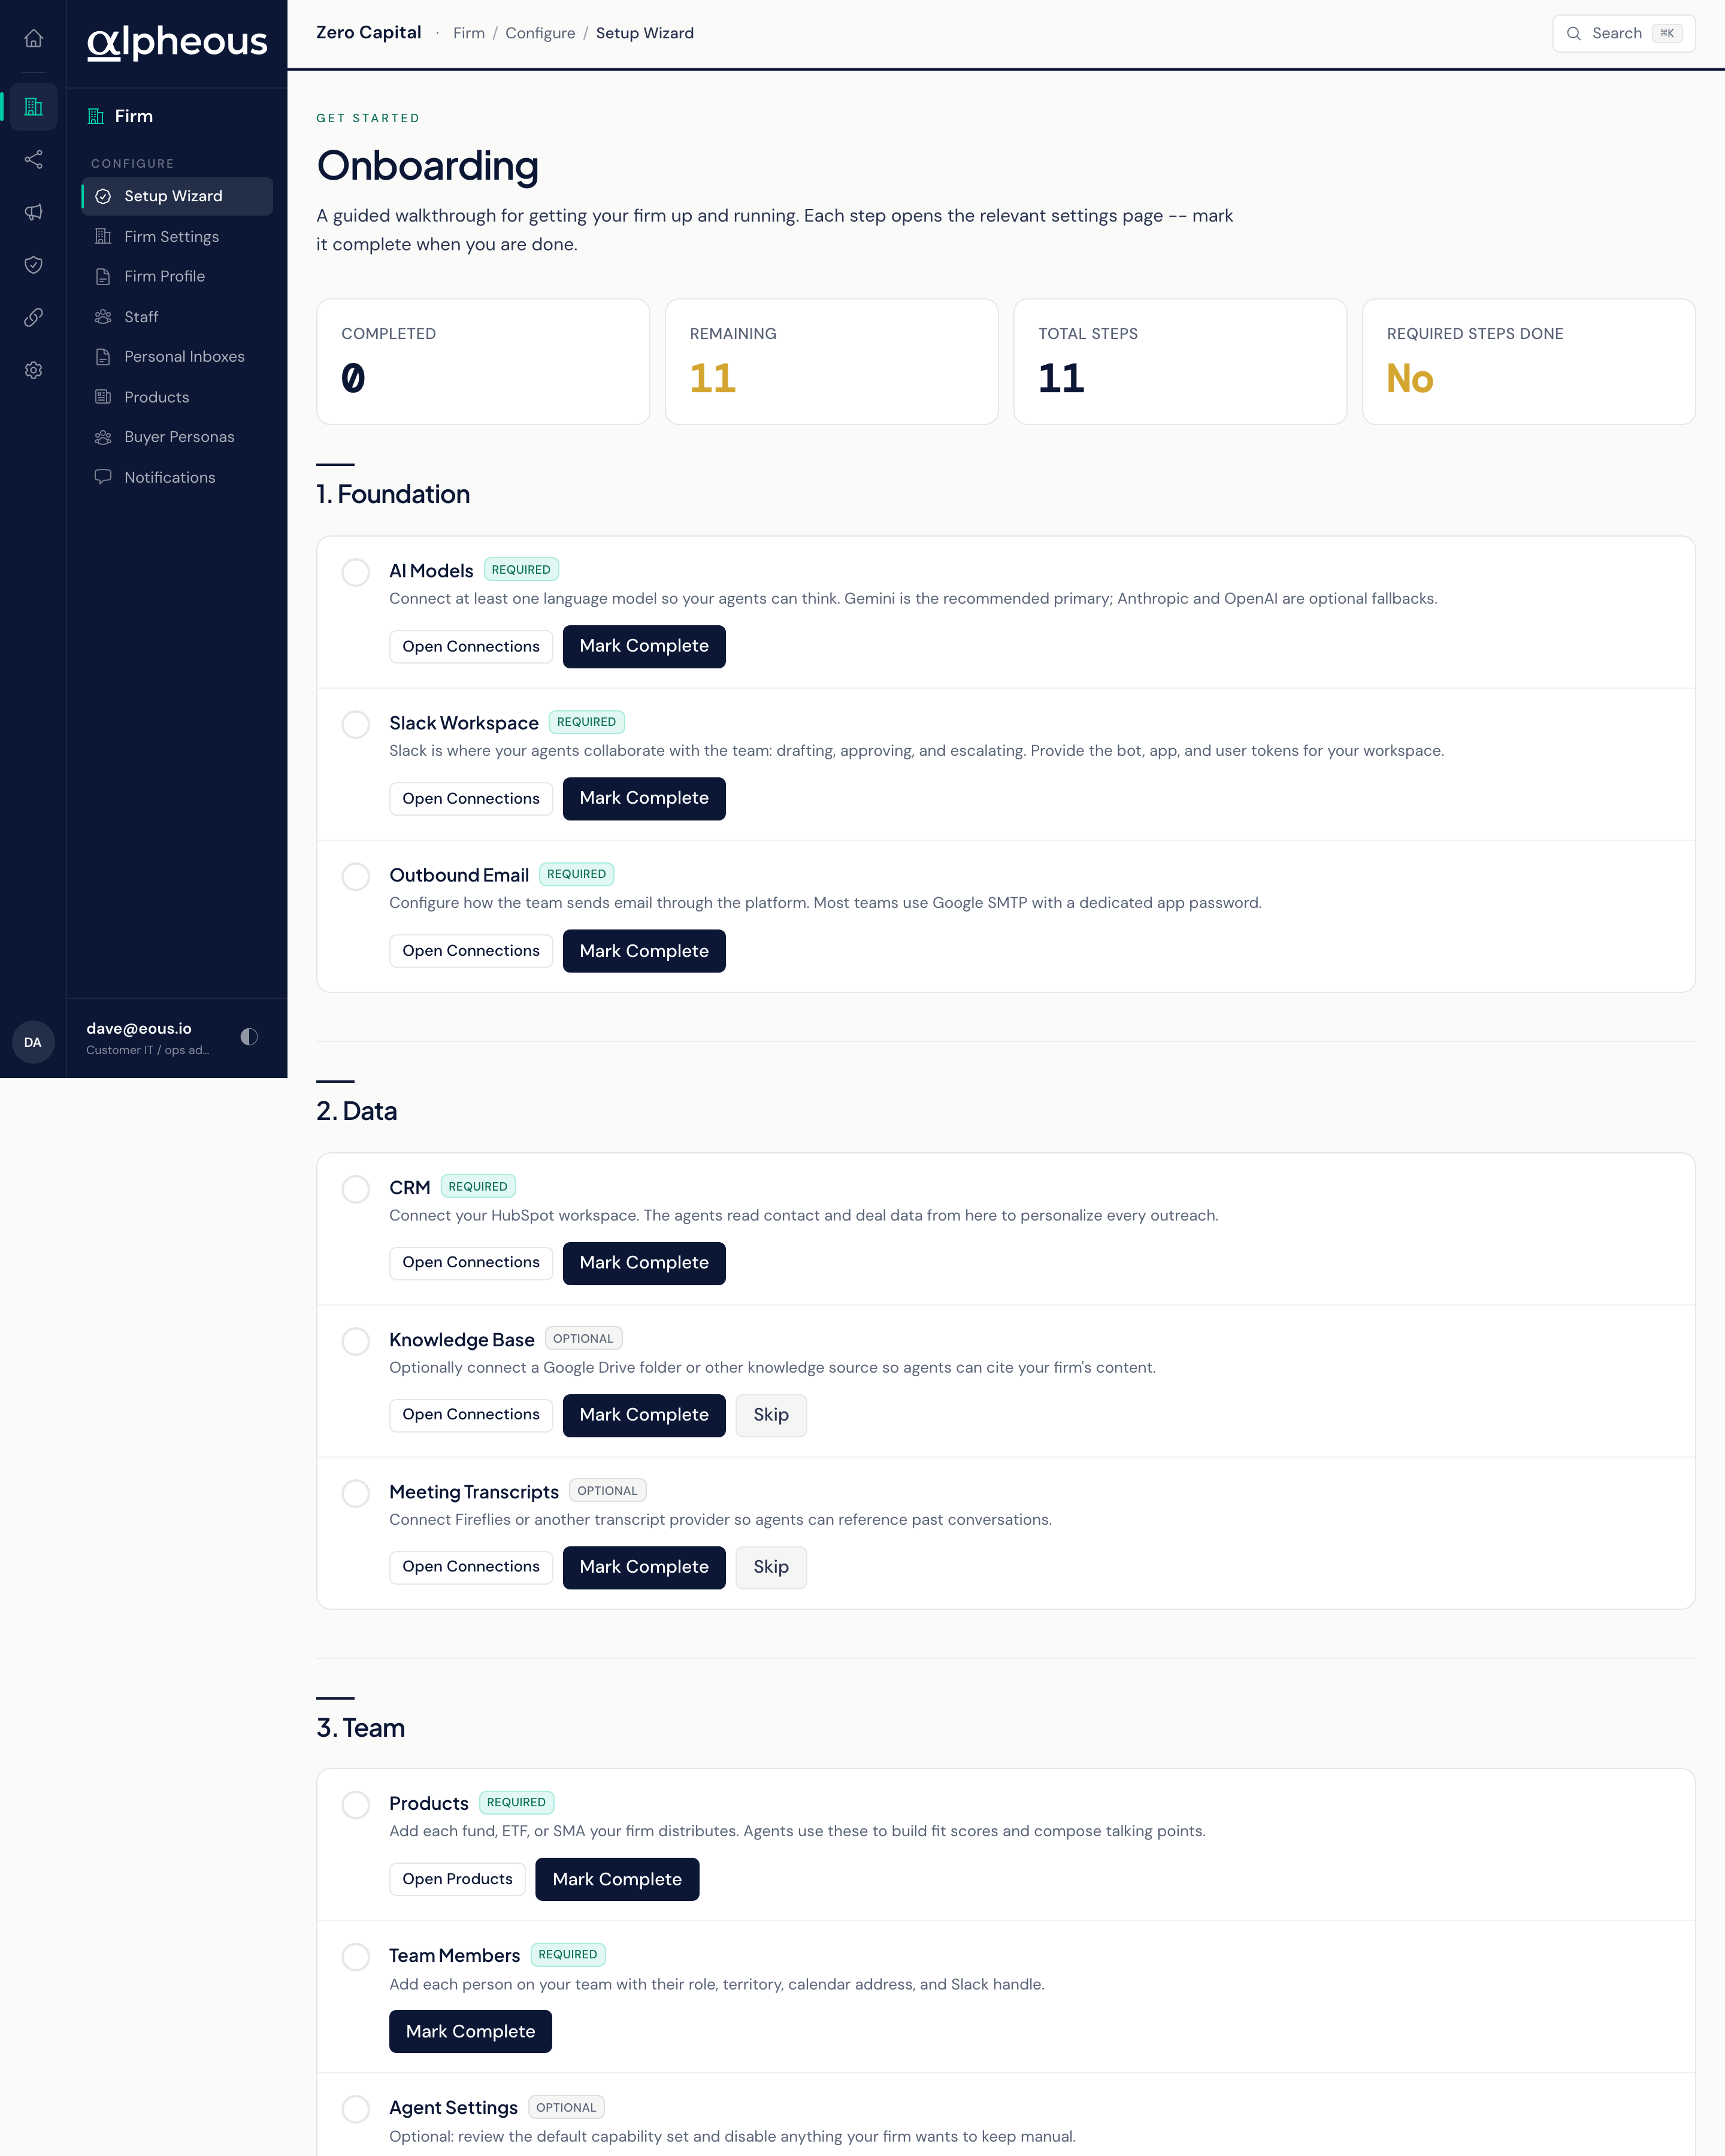
The Checklist: Four Phases, Eleven Steps
Opening the Setup Wizard under Firm shows your setup as a checklist, grouped into four phases in the order you should work through them:
- Foundation (all mandatory): AI Models, Slack Workspace, Outbound Email.
- Data: CRM (mandatory), Knowledge Base and Meeting Transcripts (both optional).
- Team: Products and Team Members (mandatory), Agent Settings (optional).
- Launch (both mandatory): Compliance Rules, Verify.
A summary at the top of the checklist shows how many steps are complete, how many remain, the total, and whether every mandatory step is done.
Each step explains what it is for in plain terms. AI Models asks you to connect at least one model provider before any agent can write or reason on your behalf. Slack Workspace connects your workspace so the agents can post and be messaged. Outbound Email is usually your own account with a dedicated password used only for sending, so drafts can go out under your firm's name. CRM connects your customer data so agents can personalize outreach from real contact and deal history. Compliance Rules confirms the rule pack every outbound draft is checked against before it can be sent.
Most steps carry a button that takes you straight to the screen where you actually do the work: the AI Models, Slack Workspace, Outbound Email, CRM, Knowledge Base, and Meeting Transcripts steps all hand off to Connections; Products hands off to Products; Compliance Rules hands off to the compliance rules screen. Team Members and Agent Settings don't hand off anywhere: you set those up directly, on the People page and elsewhere in the console. The checklist itself has no Connect buttons or credential fields of its own; it only tracks progress and sends you to the screen that does.
Marking Progress
You can mark a step Complete, Reopen it, or Skip it, and the checklist updates immediately. Skipping is meant for the optional steps you are not ready to use yet; you can come back and complete them at any time.
The Credential Wizard: Connecting Your Accounts
The Setup Wizard under Integrations is a different screen: a guided walkthrough for connecting the accounts your install actually runs on, starting with what's required and moving on to your everyday systems. Each entry explains, in plain language, how to get the value it is asking for and exactly what access it needs. Where the tool supports it, you connect your account directly instead of typing anything in; where it doesn't, you paste in a key or password and the wizard tests the connection for you before moving on. A status marker on each entry tells you at a glance whether it is not set, partly set, set, or fully tested and complete. Once a value is saved, the field shows only a placeholder; entering a new value replaces it, and you never need to re-enter something that already works.
Every account you connect here is your own, billed to your firm, and every credential you enter is stored securely and used only by your own agents.
Related
- Connections: where most checklist steps under Firm actually connect your accounts and tools.
- Products: the product catalogue that the Products step in the checklist sets up.
- People: where you add the team members the Team Members step in the checklist asks for.